
Connecting your AI assistant
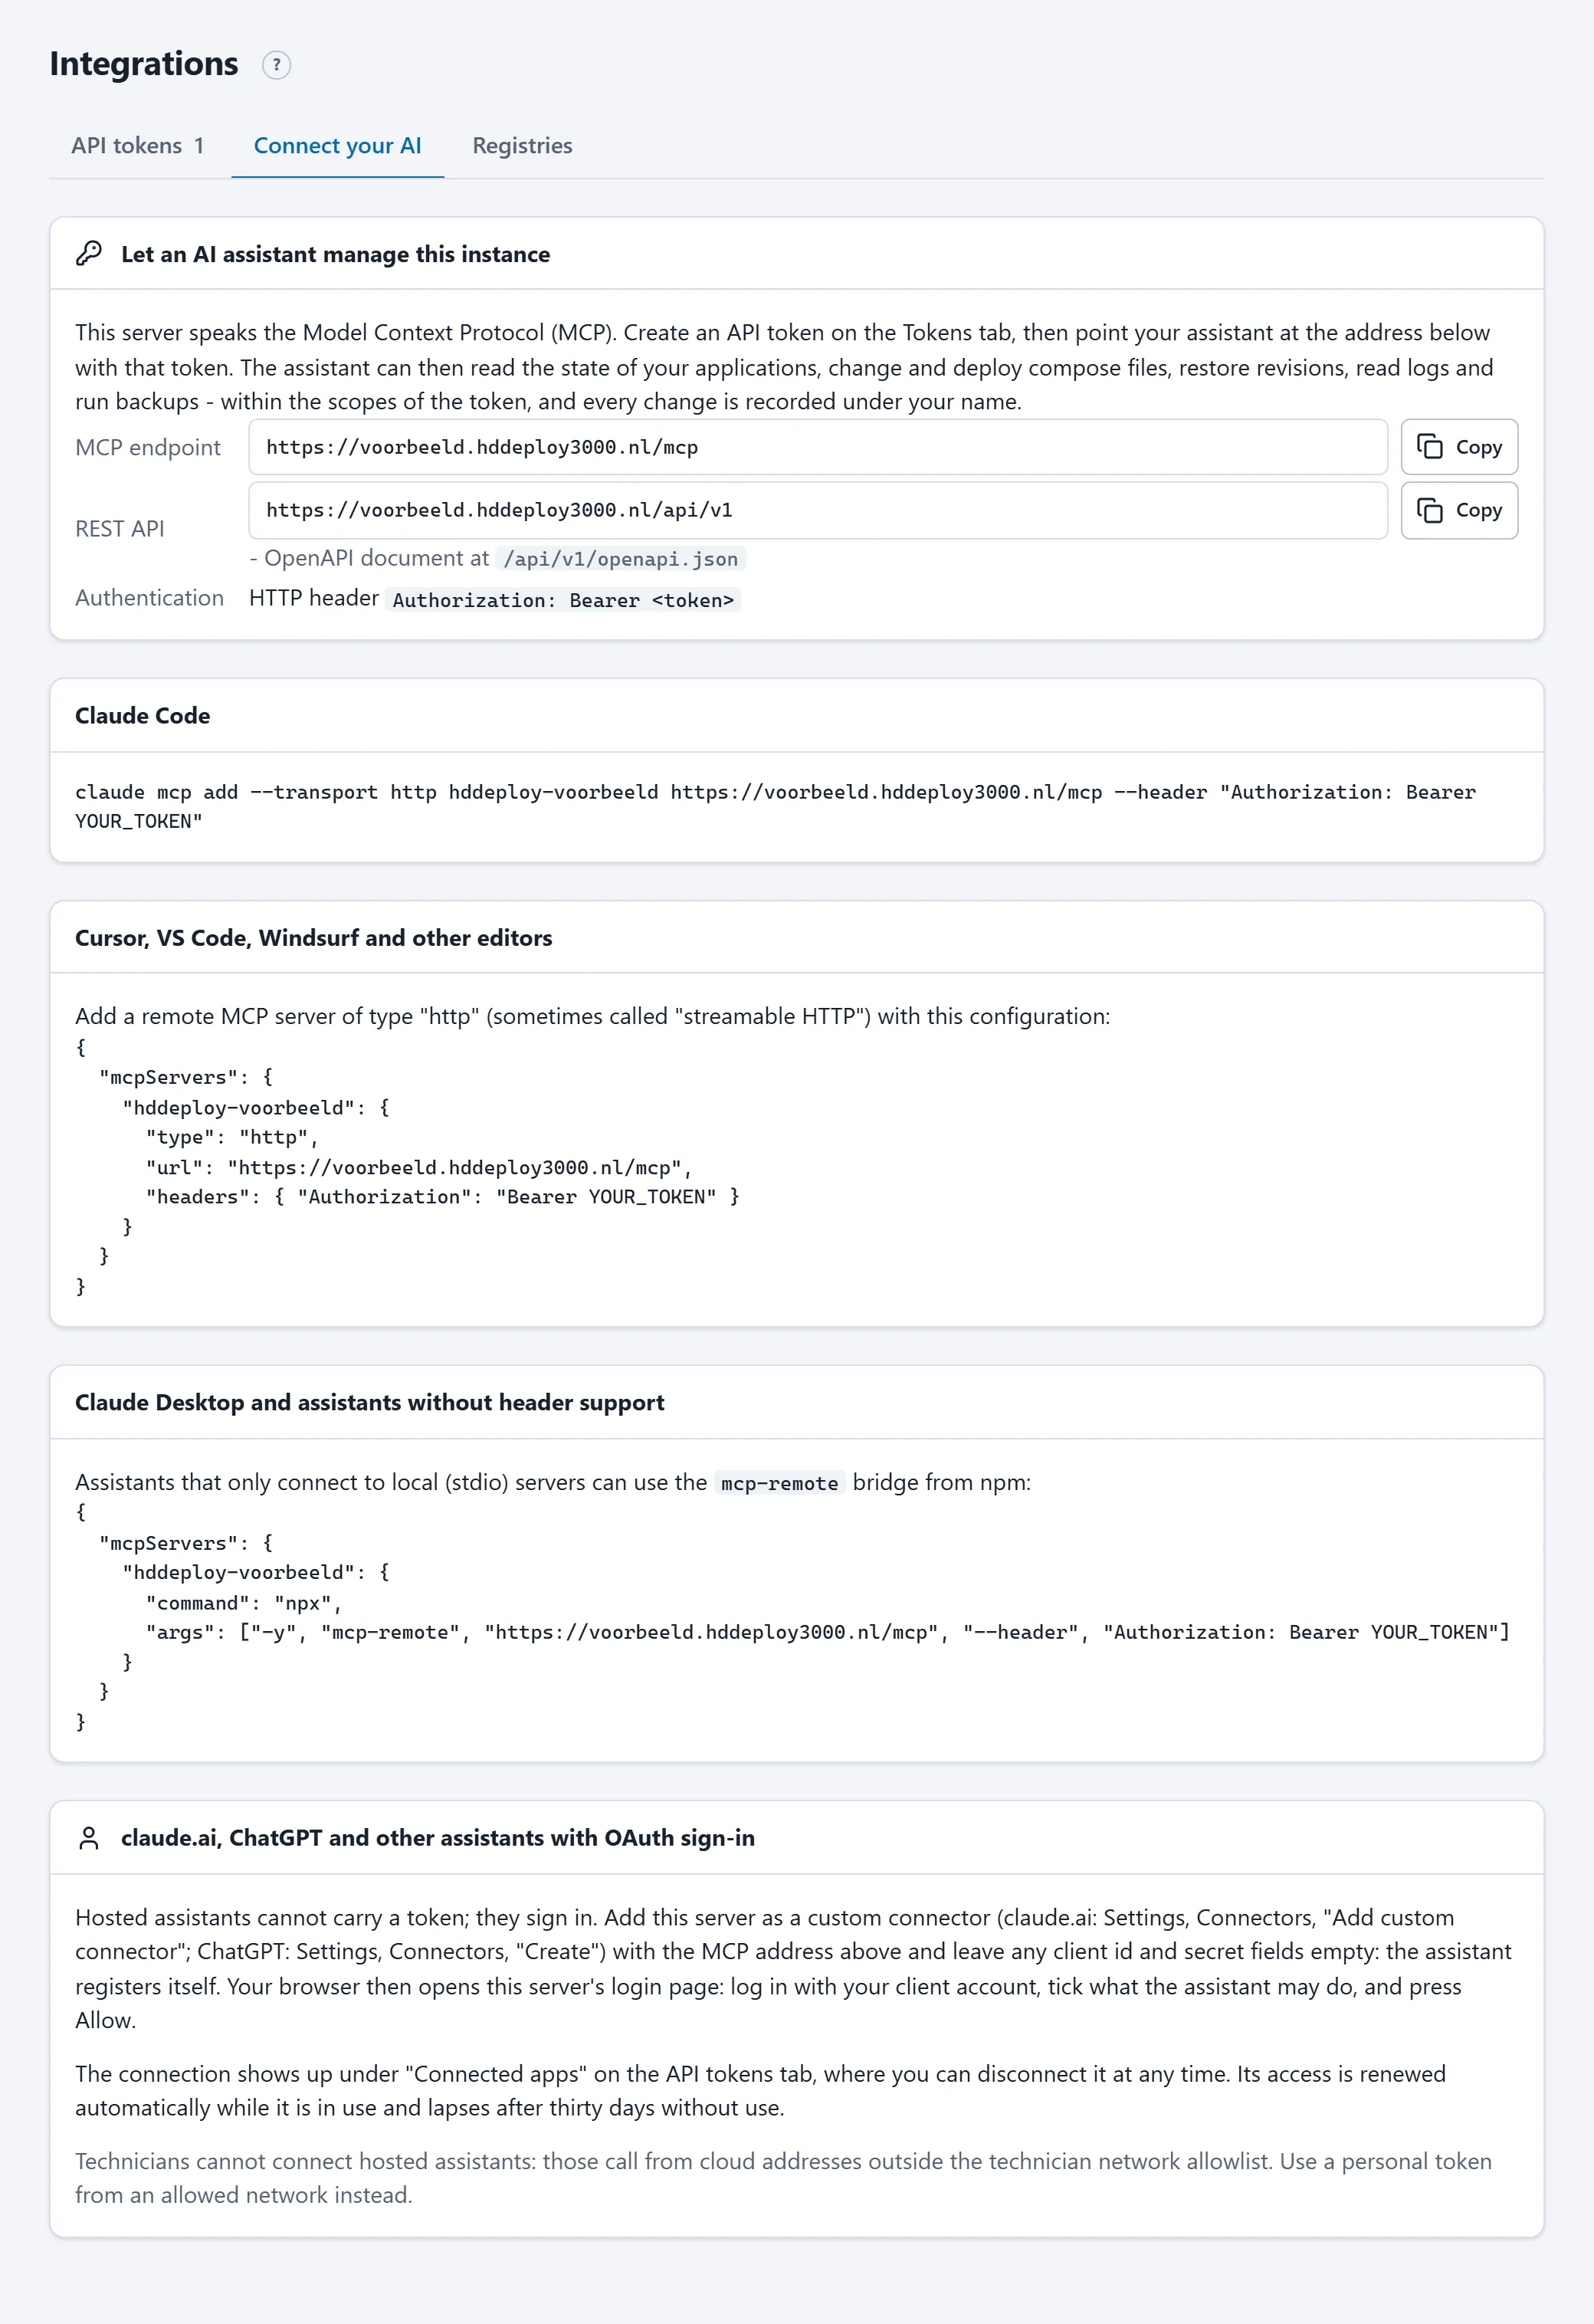
Your server offers an MCP server: a toolbox with which an AI assistant can operate your environment. Which steps are needed depends on the assistant.
| Assistant | Signs in with | See |
|---|---|---|
| Claude Code (command line) | token | below |
| Cursor, VS Code, Windsurf and other editors | token | below |
| Claude Desktop (the Windows/Mac app) | token, through a bridge | below |
| claude.ai and ChatGPT (the web versions) | signing in with your account | OAuth |
| Your own scripts and pipelines | token | The REST API |
The Integrations > Connect your AI tab in the portal shows the same configurations, already filled in with your server’s address.
First: a token
Section titled “First: a token”For every variant except claude.ai and ChatGPT you need a token. Create it on Integrations > API tokens with the recommended scopes; see API tokens and scopes. The address of the MCP server is:
https://<your-server>.hddeploy3000.nl/mcpClaude Code
Section titled “Claude Code”One command in a terminal:
claude mcp add --transport http hddeploy https://<your-server>.hddeploy3000.nl/mcp --header "Authorization: Bearer hdd_..."Check with claude mcp list; hddeploy should say “Connected”. Test with the question “Who am I on my HDDeploy server and which applications are running?”.
Cursor, VS Code, Windsurf and similar editors
Section titled “Cursor, VS Code, Windsurf and similar editors”Add an MCP server of type “http” (sometimes called “streamable HTTP”). In most editors that is a JSON file with MCP servers:
{ "mcpServers": { "hddeploy": { "type": "http", "url": "https://<your-server>.hddeploy3000.nl/mcp", "headers": { "Authorization": "Bearer hdd_..." } } }}Claude Desktop (Windows and Mac)
Section titled “Claude Desktop (Windows and Mac)”Claude Desktop connects directly only to MCP servers through OAuth, and indirectly through the mcp-remote bridge, which the app starts locally. This is a one-time setup of about five minutes.
Before you start: Claude Desktop (the app, not the website), Node.js (LTS version from nodejs.org, default installation; this provides the npx command) and a token.
- Open Claude Desktop, go to Settings > Developer > Edit Config. The folder with
claude_desktop_config.jsonopens (%APPDATA%\Claudeon Windows). - Open that file in a text editor. If it is empty or does not exist, paste the whole text below. If it already has an
mcpServersblock, add only thehddeploypart to it. - Replace
<your-server>.hddeploy3000.nlwith the address of your environment andhdd_...with your token (mind: the wordBearer, a space, then the token). - Save and quit Claude Desktop completely (also from the tray icon: Quit). Start the app again.
- On first use
npxdownloads the bridge; that can take half a minute. After that the chat window shows the tools icon with “hddeploy” and the list of tools.
{ "mcpServers": { "hddeploy": { "command": "npx", "args": [ "-y", "mcp-remote", "https://<your-server>.hddeploy3000.nl/mcp", "--header", "Authorization:${AUTH_HEADER}" ], "env": { "AUTH_HEADER": "Bearer hdd_..." } } }}Not working?
- No tools icon: check that Node.js is installed (
node -vin a command prompt), that the JSON file is valid (every comma and brace counts) and that Claude Desktop was really quit completely and restarted. - “Unauthorized” or “401”: the token is wrong, expired or revoked, or bound to networks and you are on another address.
- Claude Desktop’s logs are in
%APPDATA%\Claude\logs; the filemcp-server-hddeploy.logshows what the bridge reports.
Alternatively, Claude Desktop can be connected as a “custom connector”, like claude.ai: you then sign in with your account and need neither a token nor a bridge. See Signing in from claude.ai and ChatGPT.
claude.ai and ChatGPT
Section titled “claude.ai and ChatGPT”The web versions cannot carry a token; they sign in through your browser with your own account. The steps are on Signing in from claude.ai and ChatGPT.
First use
Section titled “First use”First ask the assistant who it is and what is running. It then calls whoami and list_stacks. After that you can give instructions like those in Example prompts. Read Working safely with an AI assistant first.